
From Concept to Creation: How Kids Can Build Their Very Own Robot!
One of the most common questions we hear from kids is: "How do you create a robot?"
While the answer can be complex, we’ve broken it down into a simple and engaging process that’s easy for kids to understand and, more importantly, can inspire them to start their robotics journey. The key? Start simple. Building a robot doesn’t require expensive or complicated tools. With a few essential parts and a little creativity, anyone can create a basic robot. Here’s how to go from an idea to a fully functioning creation:

Understanding the Parts
Every robot, no matter how advanced, relies on a few key components. Understanding these parts is the foundation for building your own robot:
Microcontroller: The brain of the robot, controlling all actions and processing input.
Memory: Stores the instructions (or code) that tell the robot what to do.
Motors: Provide movement by converting electrical energy into mechanical energy.
Body Parts: The physical structure or framework that holds everything together.
Batteries: Supply the power needed for the robot to function.
Step 1: Start with a Concept
Think about what you want your robot to do. If you’re a beginner, keep it simple. For example, you could build a robotic gate that opens and closes. A clear, straightforward goal makes the project manageable and fun.

Step 2: Design the Robot
Once you have a concept, start with a basic design. Sketch out your idea on paper.
Identify the moving parts. How will the robot achieve its task?
Plan for the range of motion. For a robotic gate, how far should it open and close?
Consider speed. How fast should the gate move?
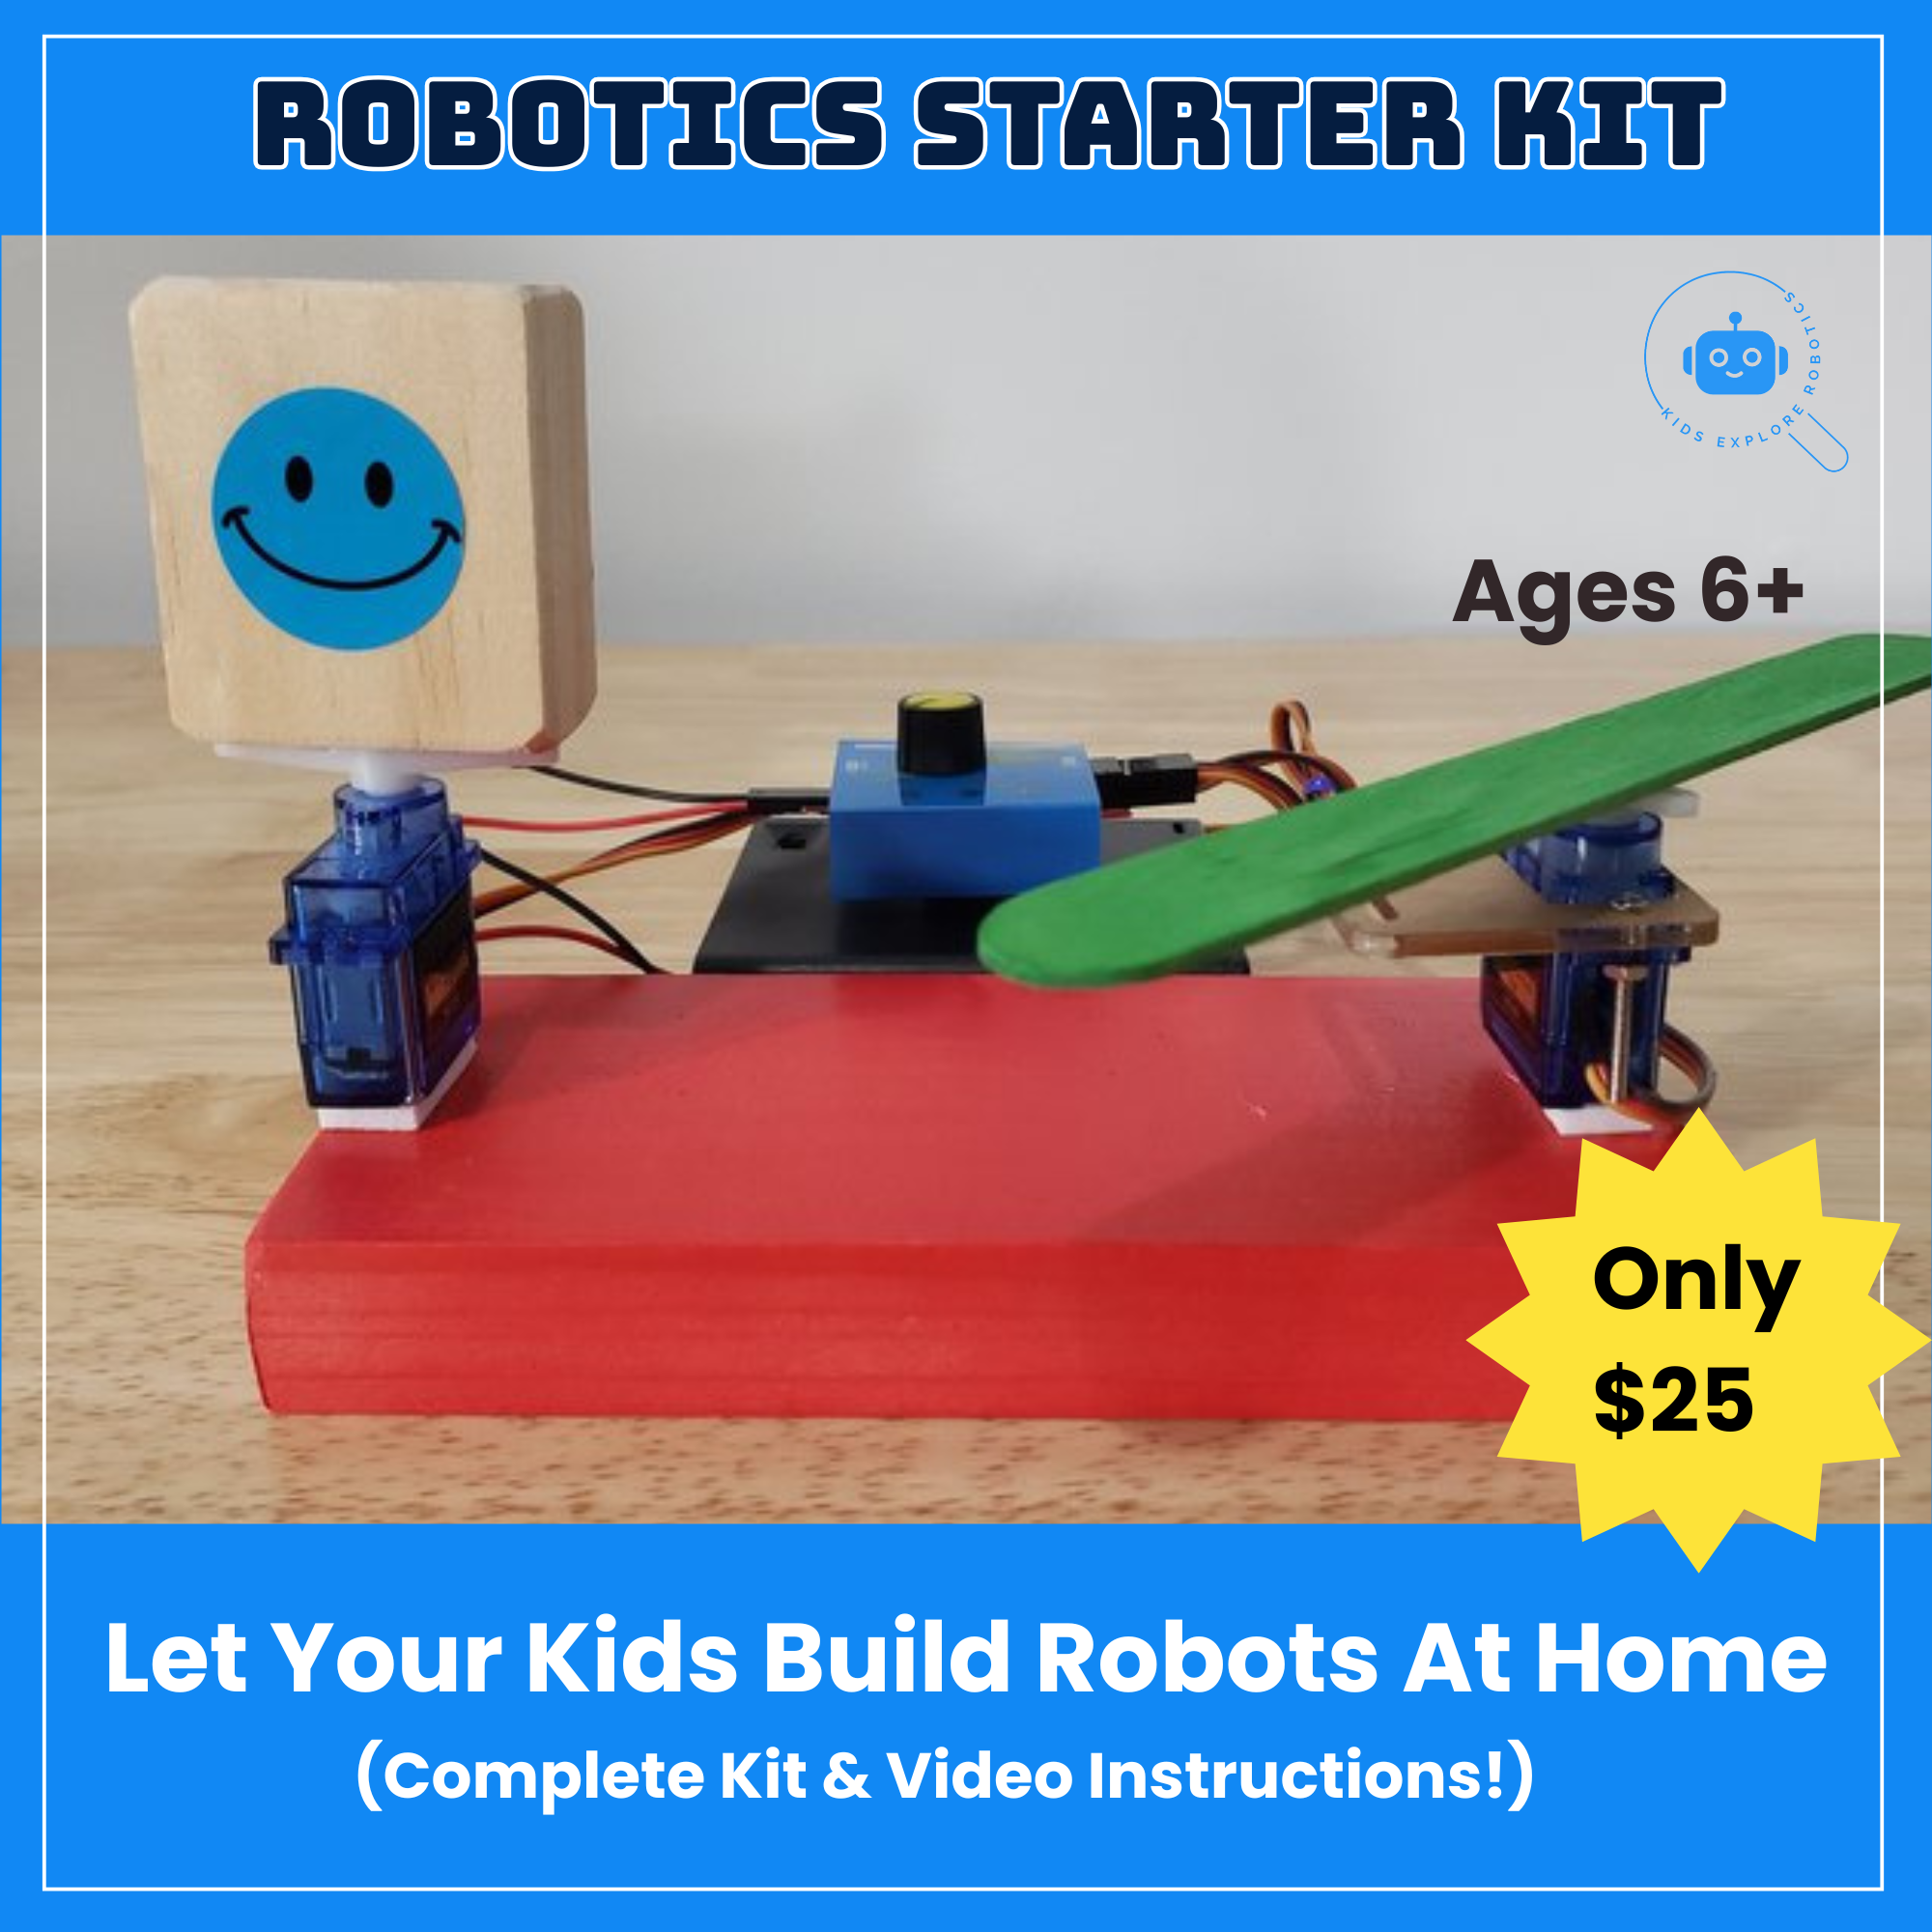
Based on your design, create a list of the components you’ll need—motors, accessories, body parts, and other essentials. Build a prototype first to test the feasibility of your idea. Once your prototype works, you can refine it for a polished look, using materials like custom-crafted wooden parts or simple 3D-printed elements.
Step 3: Build the Robot
This step involves assembling all the parts to create the physical structure of your robot. It’s where the fun truly begins! But remember, building the physical structure is just half the journey.
Program the Robot
A robot is only as good as its programming. Without code, it’s just a collection of parts.
Write the Code: Create a set of instructions for your robot using a programming app, often provided by the microcontroller’s manufacturer. Learn basic commands, syntax, and structure of the programming language. For instance, you might write instructions to control when the gate opens, how fast it moves, and how long it stays open before closing.
Test and Refine: Upload the code to your robot and observe how it behaves. Adjust the programming as needed to add features or improve performance.
Bringing it All Together
By following these steps, kids can transform their ideas into reality and build their very own robots. From the first spark of inspiration to the thrill of seeing a robot come to life, the process is as rewarding as the final product. Encourage your kids to experiment, make mistakes, and think creatively. Robotics isn’t just about building machines—it’s about nurturing curiosity, problem-solving skills, and a passion for learning. Who knows? Their first robot might just be the start of an exciting future in STEM!
2025 Back to Homeschool Giveaway - Enter Below!
Giveaway ends July 18th at 11:59pm ET. Winners will be drawn and emailed the following day. The winners will have 48 hours to respond to email to claim the prize. By entering this giveaway you will be added to the email lists of the participating bloggers. Please be sure to read the Terms & Conditions upon entering the giveaway.
Final Thoughts
At Kids Explore Robotics, we’ve seen firsthand how kids light up when they complete their first robot — how they take pride in coding something that actually works. Whether they’re six or sixteen, this experience is empowering, inspiring, and unforgettable.
So if you’re thinking about how to help your child grow, explore, and get excited about learning — robotics just might be the best gift you can give.
👉 Ready to explore your options?
We offer live classes, summer camps, and video-based projects — designed by an engineer dad and his son — to make learning robotics fun, affordable, and meaningful. See some of our robots.
Let’s build something amazing together. 💡🔧🤖
Visit our website